Aim for damp, not wet
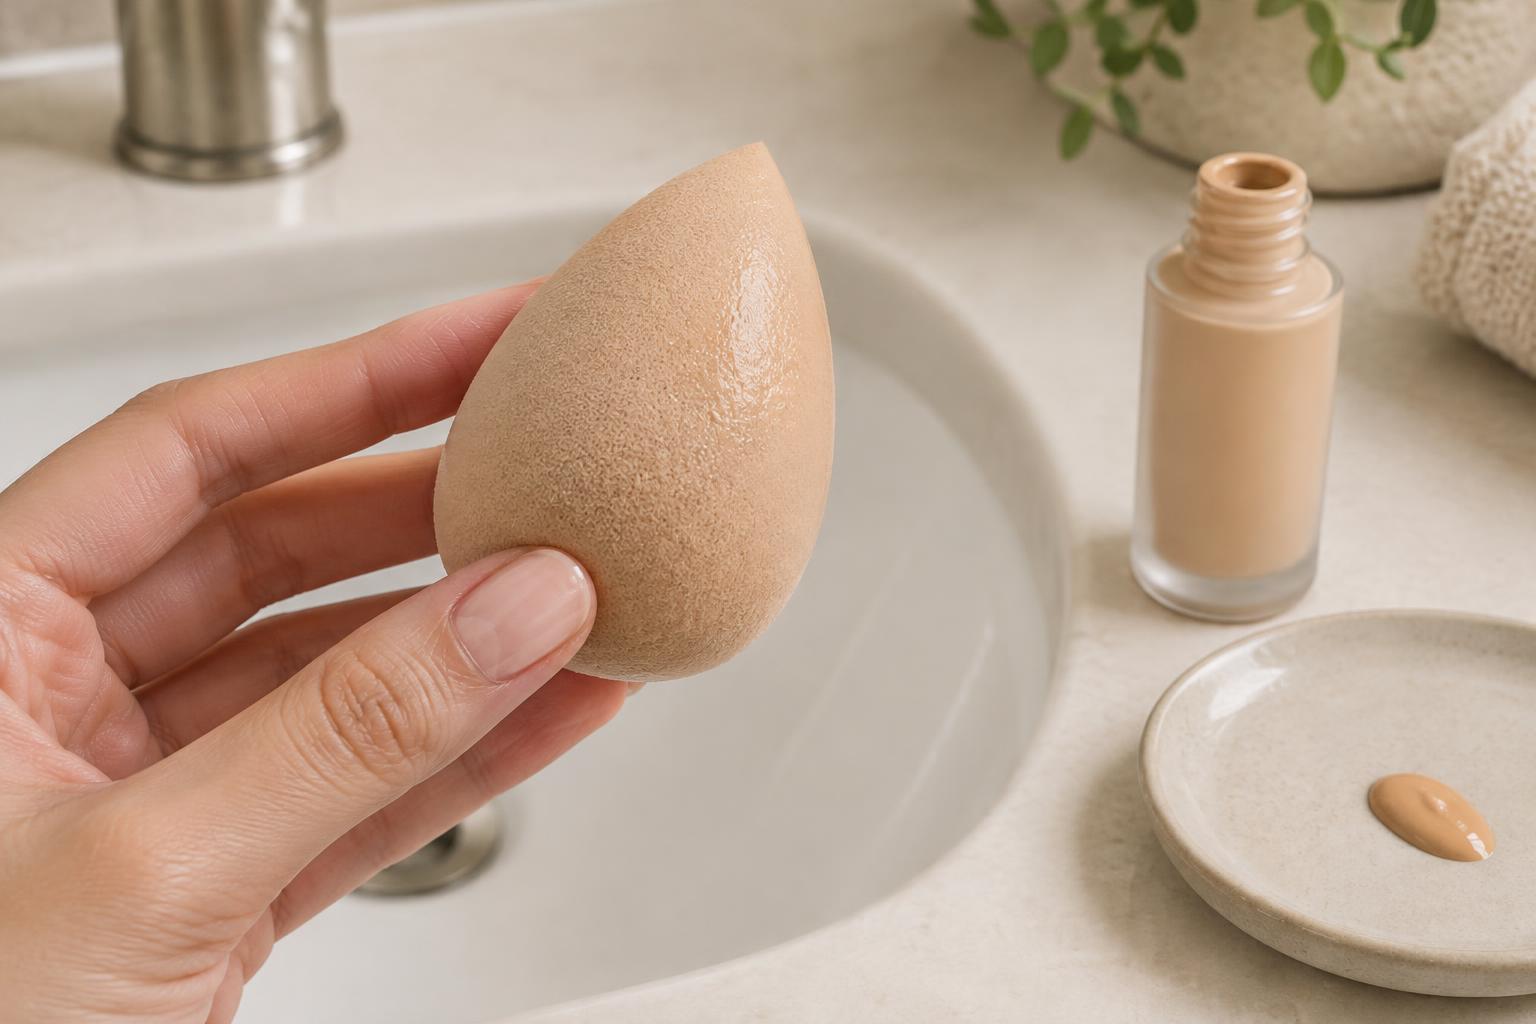
For most liquid and cream foundations, a makeup sponge should feel soft, springy, and evenly damp before it touches your face. It should not release drops when you squeeze it lightly. If you press it against the back of your hand, it may leave a faint cool feeling, but it should not leave a visible patch of water. That is a useful starting point rather than a rule that suits every product.
Dampening a sponge helps it expand and become more flexible. It also means the sponge has already taken up some water before it meets your foundation. A completely dry sponge may absorb more product as you work, while a soaking-wet sponge can add unwanted water to the foundation. The goal is a sponge that feels prepared for blending without making the makeup noticeably thinner.
Use the soak-and-squeeze test
Wet the sponge thoroughly with clean water, turning and squeezing it so the center gets wet too. Then squeeze it firmly several times until water stops running out. Press it in a clean towel to remove the remaining excess. Check more than one side: a sponge can feel dry on the surface while holding a pocket of water inside.
Give it one final squeeze over a sink before applying foundation. If you see drops, squeeze it again in the towel. If it feels stiff or is difficult to compress, it may be too dry; add a little water and repeat the squeeze. A sponge that feels plush but does not drip is ready to try.
You can fine-tune the moisture level after the first few dabs. If foundation looks watery, separates, or moves around rather than settling into an even layer, blot the sponge again. If it seems to tug or pick up more makeup than it blends, try slightly more moisture. The amount that works best can vary with the sponge material, its size, and the foundation.
Match the sponge to the foundation
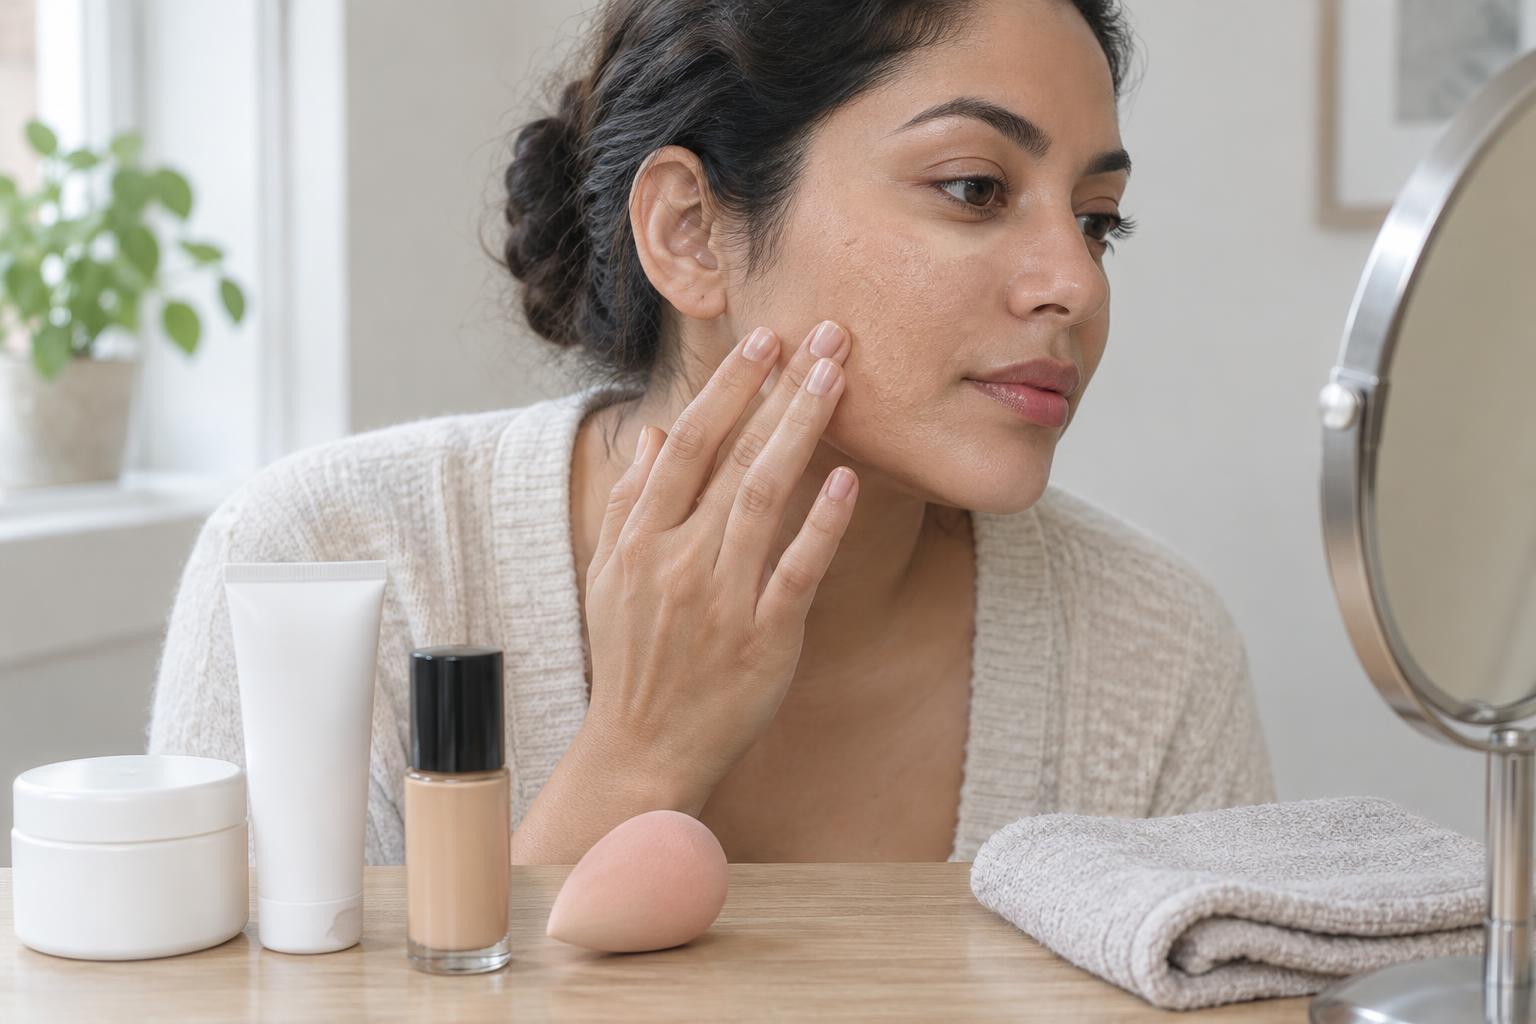
A damp sponge is a common choice for liquid foundation because its soft surface can help spread thin layers. Put a small amount of foundation on the face or the back of your hand, then use a gentle bouncing motion to distribute it. Starting with less product gives you room to add coverage where you want it without repeatedly pressing a wet sponge over the same spot.
Thicker creams may need a sponge that is only lightly damp, especially if extra water makes the product harder to control. Powder foundation is different: unless its directions specifically allow damp application, start with a dry tool. Water can change how a powder picks up, applies, or sits in its container. If a product gives instructions for sponge use, follow those first.
Moisture is only one part of the finish. How much foundation you use, whether your moisturizer has had time to settle, and how firmly you press can all affect the result. If coverage becomes too sheer, try a thinner layer of product followed by a second targeted layer before assuming the sponge needs to be drier.
Keep the sponge clean and ready for next time
Because a damp sponge spends time against both skin and makeup, clean it regularly using an appropriate gentle cleanser and rinse until the water runs clear. Squeeze out the water without twisting it forcefully, then let it dry thoroughly in an airy place. Avoid sealing a wet sponge in a closed bag or container, where it may stay damp longer.
Check the sponge as you use it over time. If it develops a persistent odor, visible discoloration that does not wash away, or damage that makes it difficult to clean, replace it. A freshly washed sponge may also hold more water than you expect, so repeat the squeeze-and-towel check before every application. The simplest guide remains how it feels in your hand: evenly damp, comfortably soft, and free of drips.